Start the process on TerminalCAD
-
Head over to your community admin panel > Third Party Integrations > Under Custom Email, click
Configure.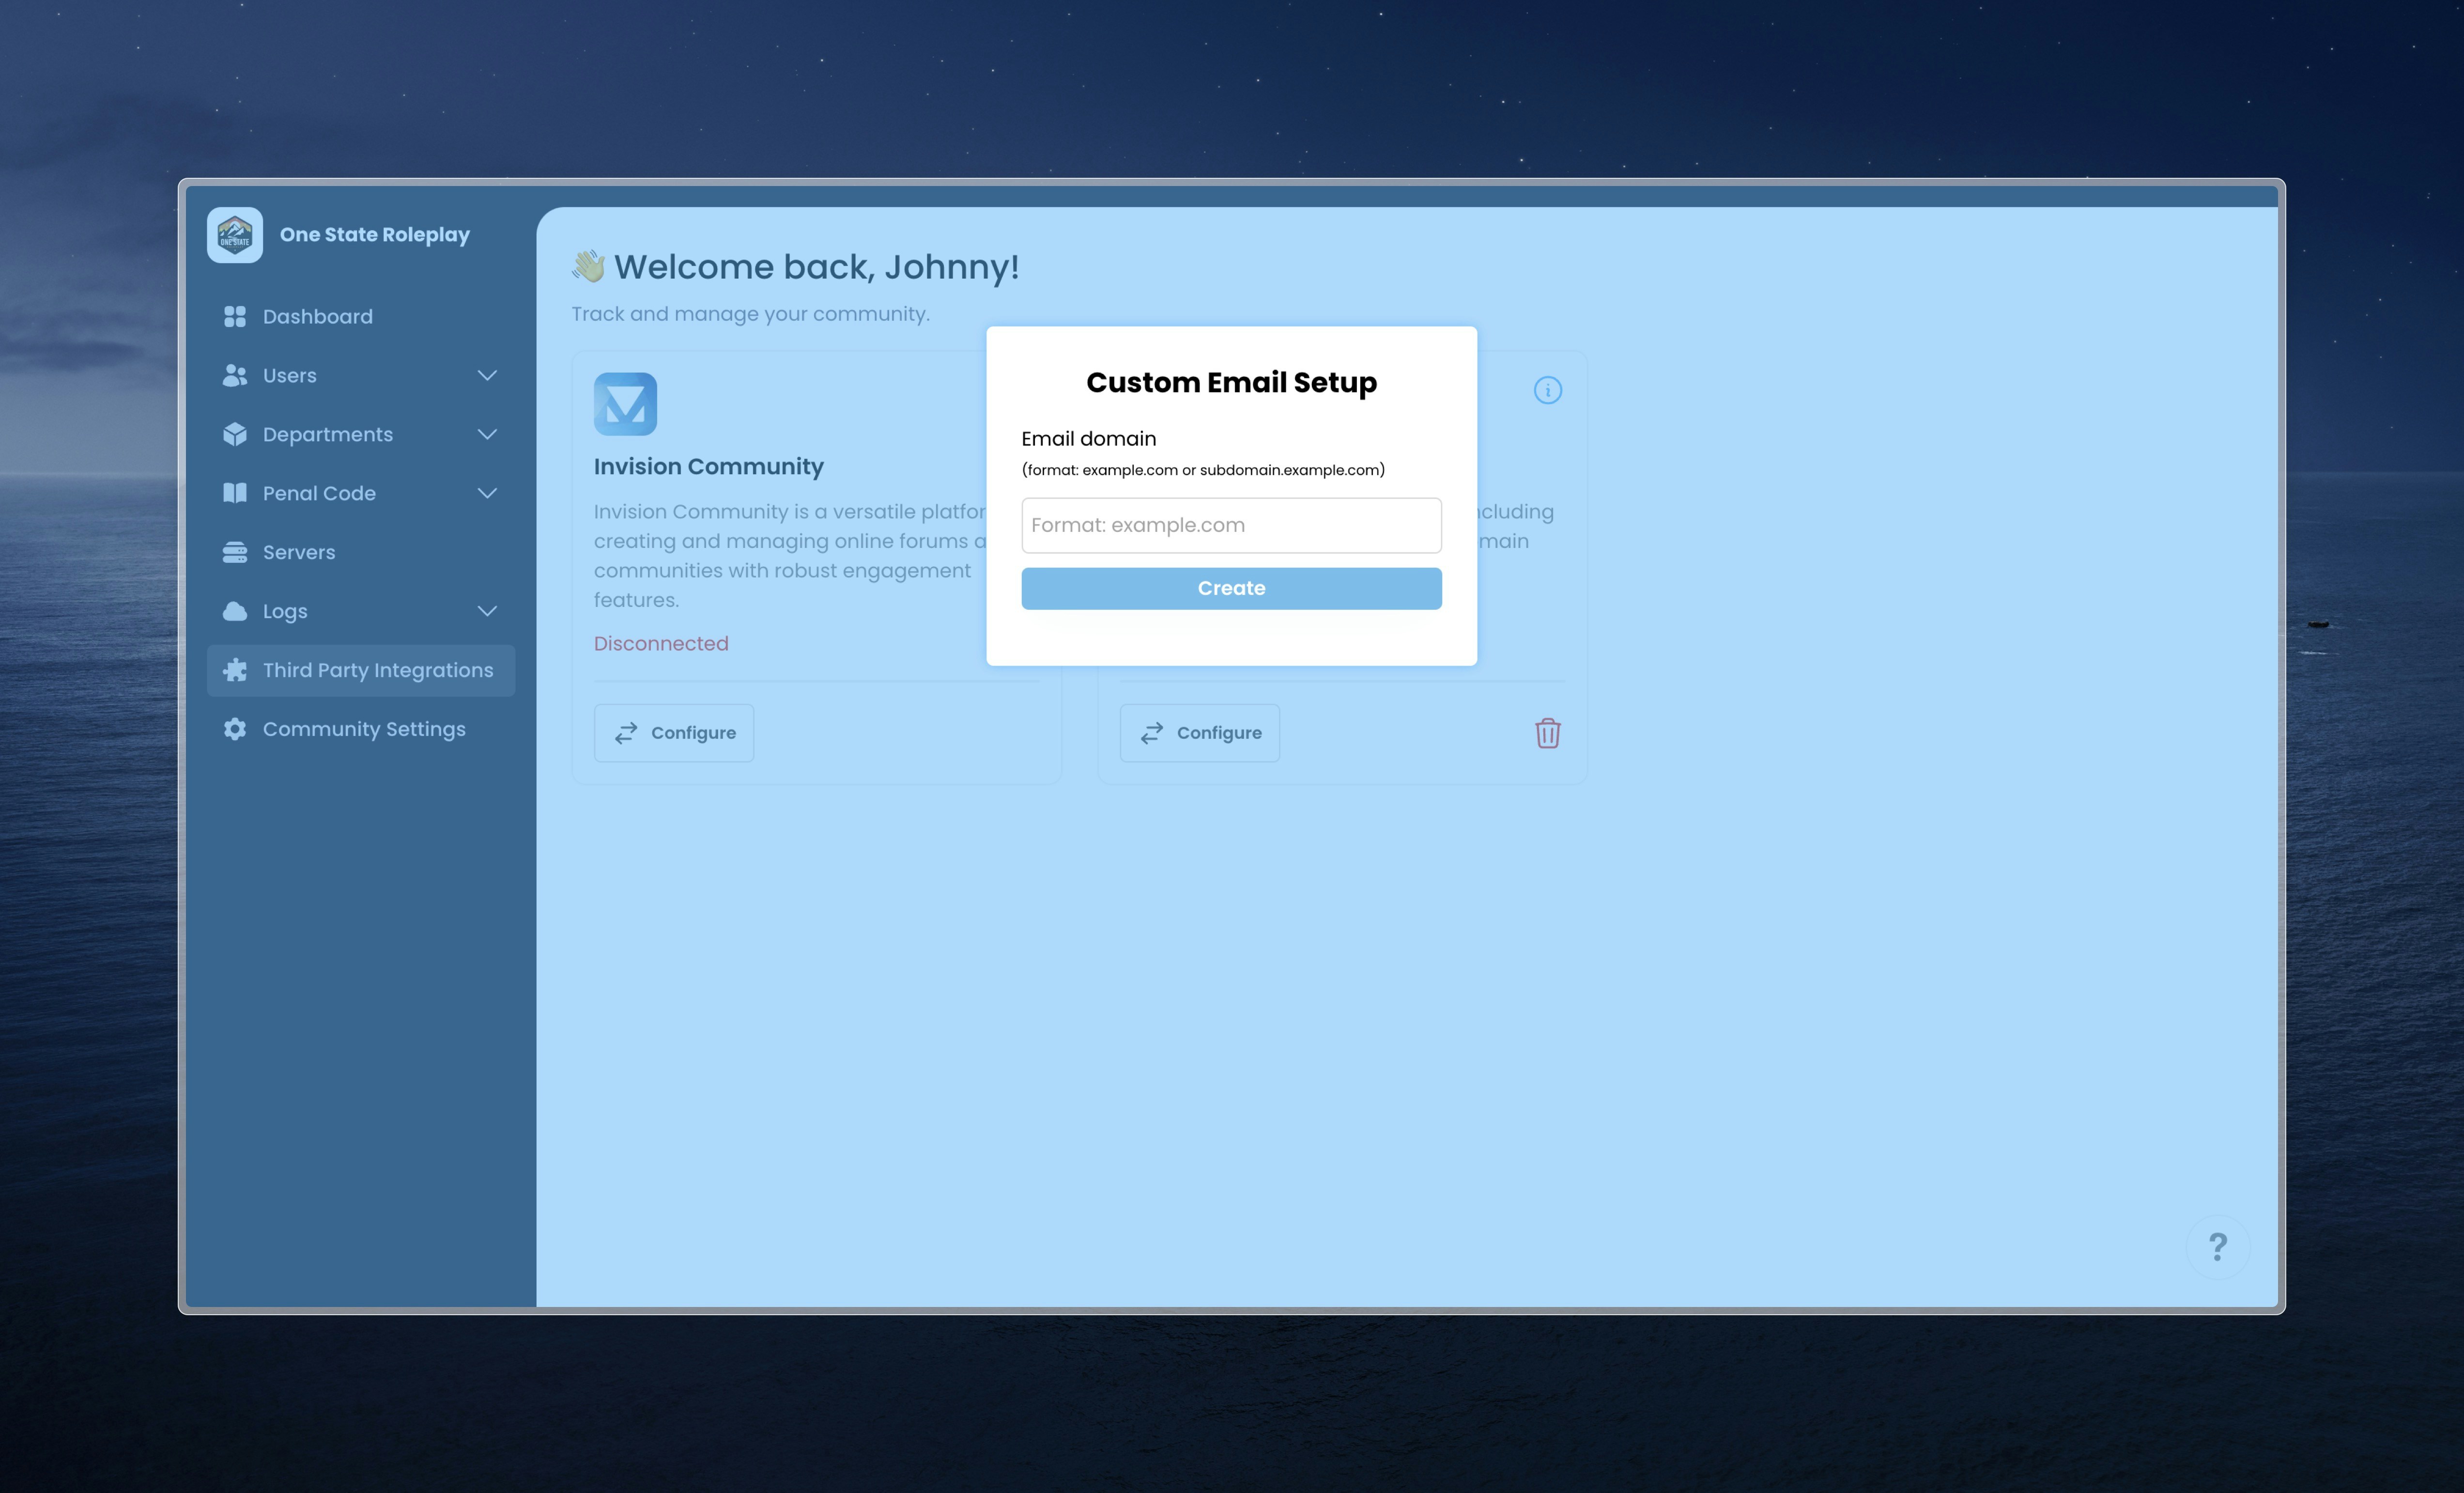
- Enter the domain you would like to use to send emails. You can choose to use your root domain (i.e., terminalcad.io) or a subdomain (i.e., mail.terminalcad.io).
Add DNS records to verify your domain
Once you select the domain you want to use, a new screen will appear for you to enter DNS records to verify your domain. This process may vary depending on your registar. We recommend using Cloudflare. Below, you will find the most common registars and their respective instructions on how to add new DNS records.You will be asked to enter two types of DNS records to verify your domain. You will be asked to enter a TXT record for DKIM and a CNAME record for Return-Path. Once you have added the records, click Verify records so we can check if the DNS records were entered correctly.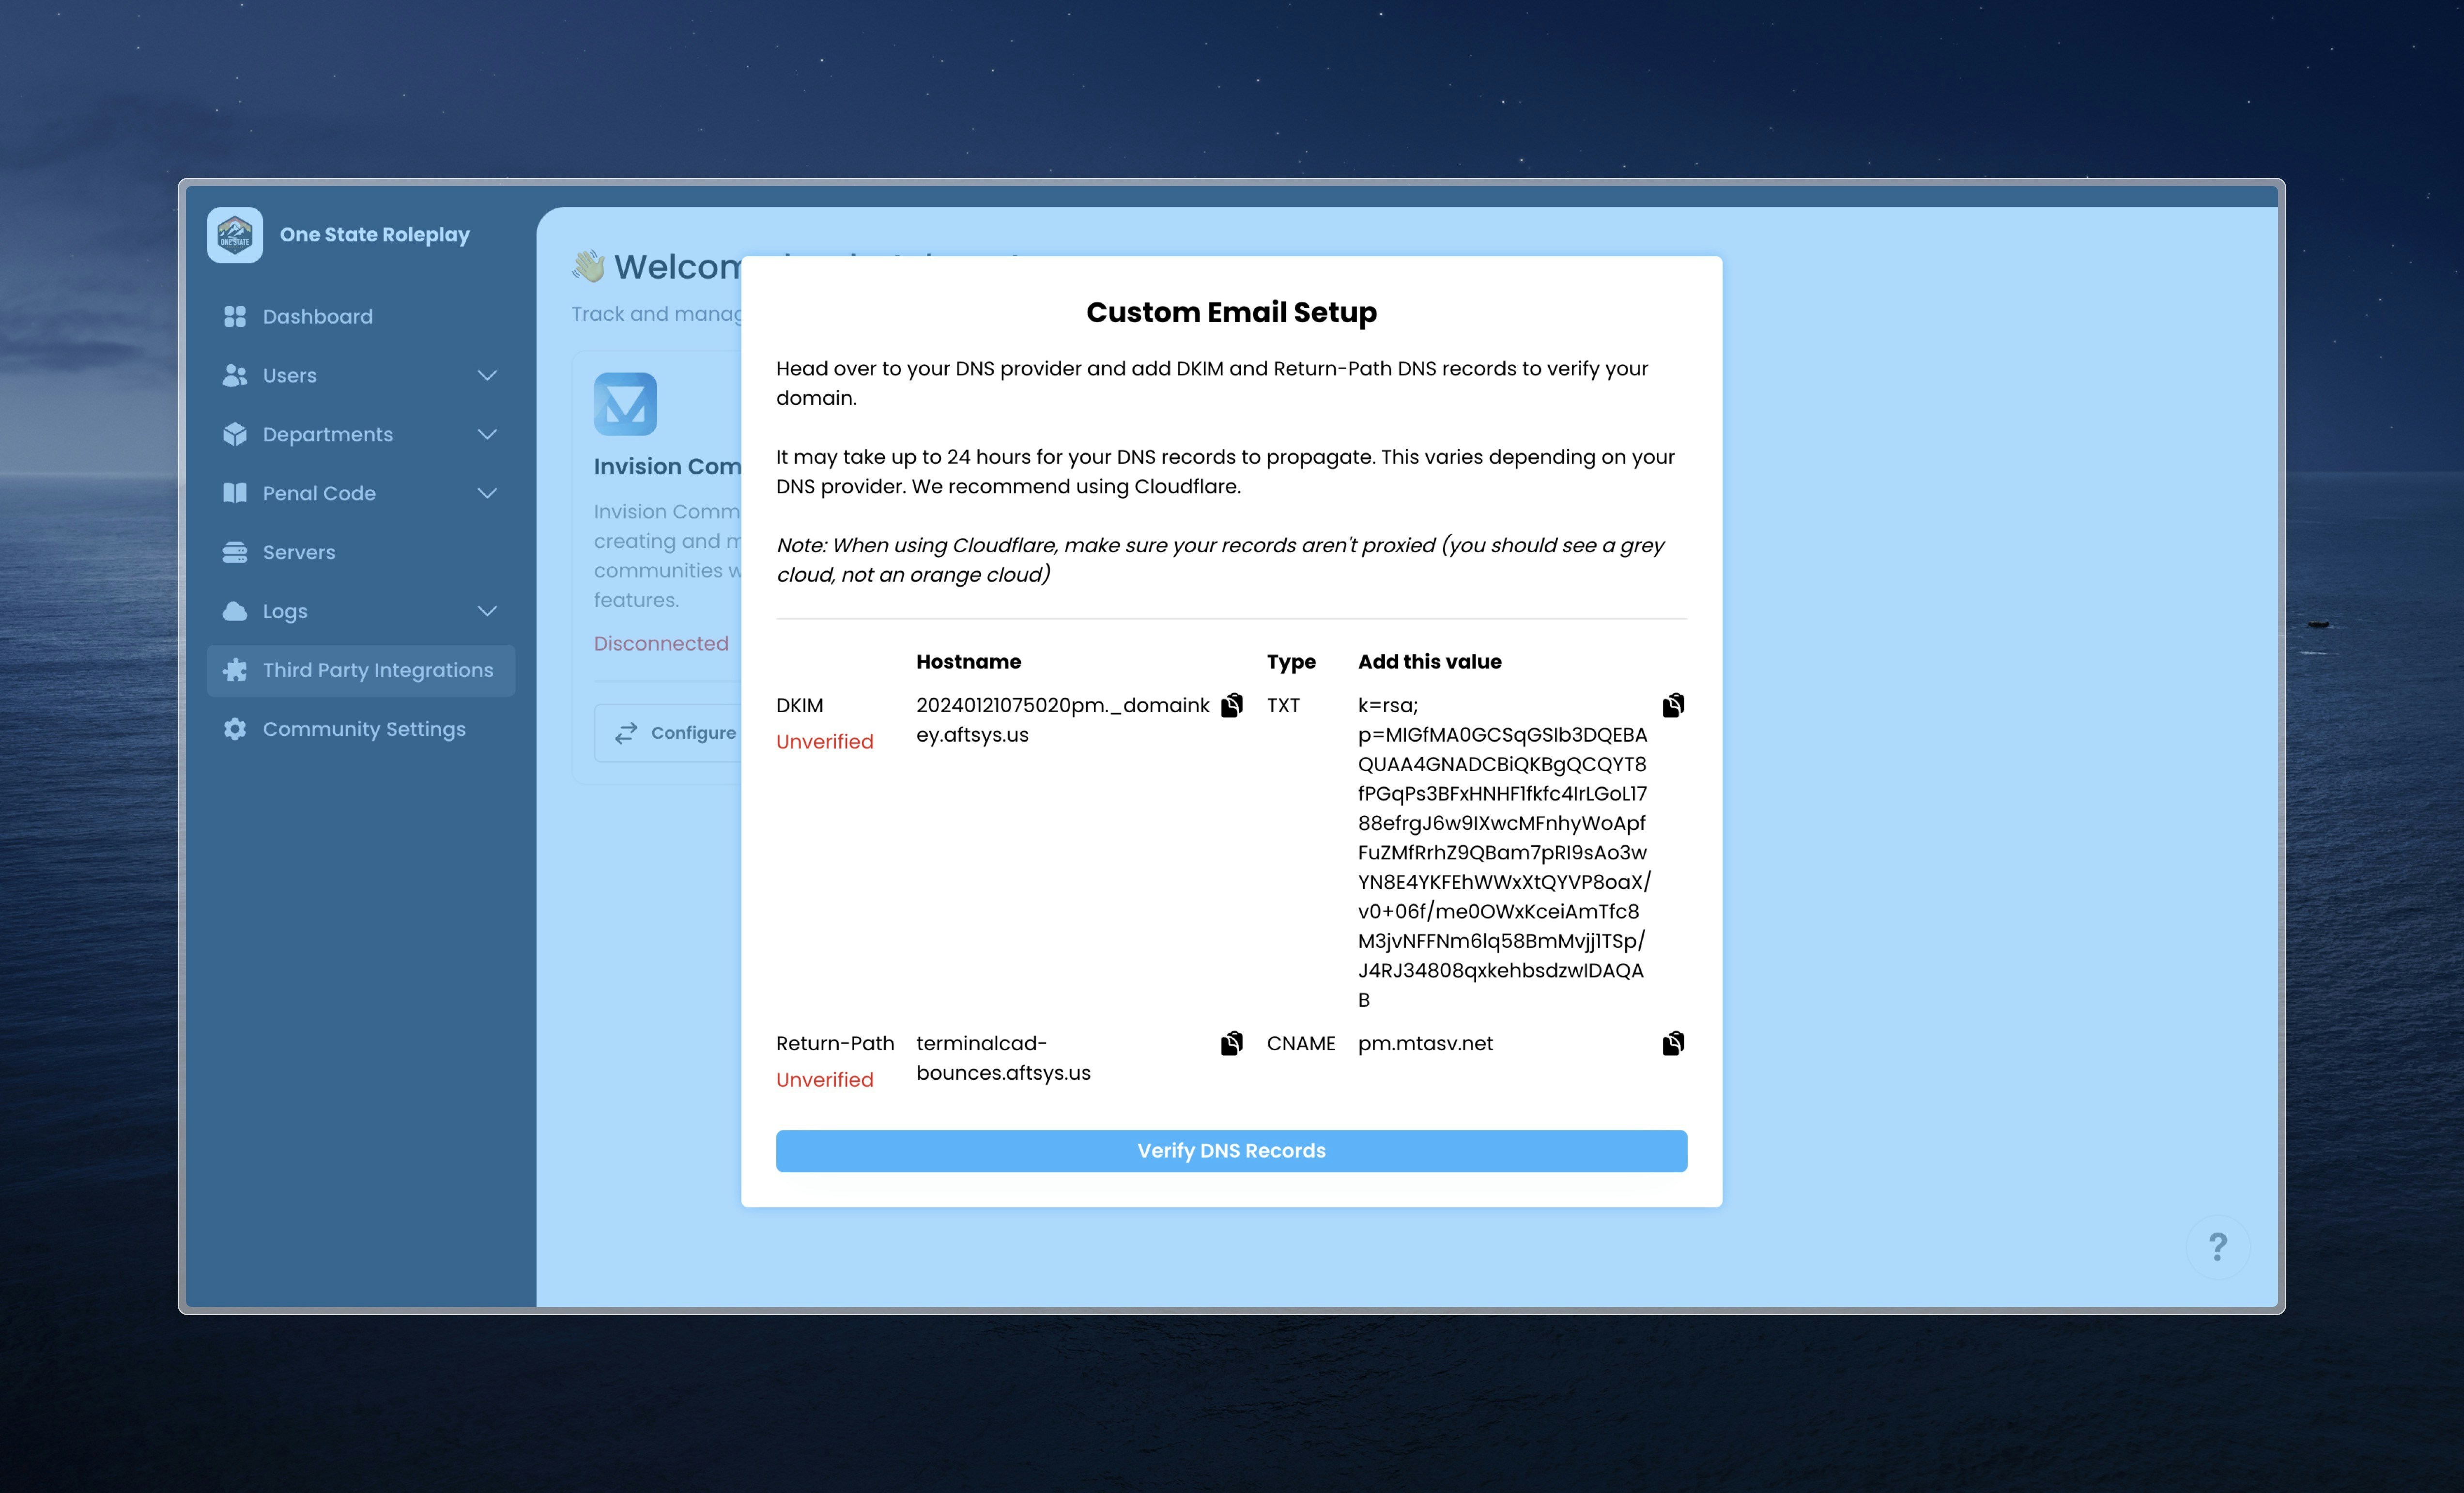
Setup email addresses
Great! Now that your domain has been verified, you can choose the email address you would like the emails to come from along with the reply-to email you want to use.From Email Address: The from email address is the email address that the emails are sent from. The from email must be an email from the domain you started this process with.Reply-To Email: The reply-to email address is the email address where replies will go to. This email should be one where you can receive replies.
Save button! You have successfully setup email sending with your custom domain! 🎉